Thanks to Kim Kardashian, the world became familiar with the concept of contouring makeup back in 2016 when full glam and everyone contouring their cheekbones up to the sky was the norm. While we loved that look which shall remain a sacred part of our makeup journeys forever, it's time we said goodbye and learned a few tips and tricks to contour like a pro for the perfect soft glam. And if you are someone who's new to the contouring makeup game, then don't fret, we are going to start from the basics, so keep on reading!

The Ultimate Guide To Contouring Makeup & How To Get It Right Every Time
What Is Contouring?
Contouring is nothing but using a grey-toned pigment to add dimension to your face when doing makeup. You know how you look a little washed out (or even ghostly) when you slap on your base makeup—the foundation, concealer and powder and wonder what went wrong? Well, simply nothing! You just need some contouring to bring back the dimension post your base routine when the face looks flat because of no colour. Our cheekbones and jawline are the two shadows created on our faces naturally which need some extra love after your base routine steps. Apart from these two, you can also contour your nose, forehead and lips if you don't mind the extra steps.
Another thing to note is that contouring also creates the illusion of a shadow that does not exist so basically, you can fool the placement of the already existing shadows on your face for a more chiseled look. However, it's always best to contour your face in accordance with your facial features for a natural look. Makeup is all about having fun with the different techniques and enhancing what you are blessed and the same applies to contouring.
Contour vs Bronzer: What's The Difference
This is where most of the people go wrong. Contour is different from bronzer as the two are differently coloured and serve different purposes as well. On one hand, contouring is as we discussed before, required to return the dimension back on your face whereas bronzer is used for bringing back the colour to your face, or for a sun-kissed look. When you look at the majority of the products in both categories they are both brown in colour which sort of confuses the consumers on what to buy. So, keep this one rule handy when you shop for them next — the contour's colour is supposed to be grey-toned (or have a grey undertone) because shadows appear to be grey, whereas the bronzer is supposed to be warm-toned (or have an orangish-red undertone) to add warmth to the face.
What Product To Use?
God bless the makeup industry for giving us beauty fanatics a million options when buying a single product. Coming to contour, products are available in a variety of choices — cream contours in the form of a stick or pan, liquid or gel contours and the oldest, powder contours. You can even use a concealer in a darker shade as long as it has a grey undertone. Creams and liquids are the most natural looking and also the easiest to use as they blend with minimum effort. There's enough room for correcting any errors you make with creams and liquids while powders are a little tricky to nail since they instantly set your makeup so you pretty much can't redo anything.
If you are a beginner, start by using creams and liquids, and then jump into powders once you become a pro at it. Want to know our picks? Keep reading for our product recommendations at the end!
How To Contour?
Now we come to the most important and tricky part of it. The application is what makes or breaks contouring in your makeup. First things first, the placement of contouring (or in simpler words, where to apply the strokes) is the utmost important thing to get right. Trust me when I say this, what might work for me in terms of contour placement, might not work for the person on my right and neither for the person on the left, this means — contour placement is really subjective and depends on your face shape, and also your preferences. Now, you must have seen over a hundred different contouring styles on TikTok or Reels varying from overly simple ones, to extremely complicated ones, so we decided to do a round-up of the basic techniques that we feel you should definitely have up your sleeve:
For The Cheekbones:
Although the sucking your cheeks in and contouring format has been ingrained into us by the internet, it might actually not be a great choice for everyone. Instead, place your contour strokes slightly above your cheekbone, moving from your hairline toward the apple of your cheeks and stopping midway through your eye's length. This might sound a bit confusing so simply refer to the image. Make sure you blend the contour upwards with stifling motions so that it gives a lifted look. Downward blending would give a drooped-down look, and make you look aged.
For The Jawline
You apply the contour colour above the jawline (as shown in the image), not below the jawline. The trick is to start your contour near your ear and move your way down towards your chin. I personally make the two ends of my jawline contour meet under the chin forming a triangle on days I want to give my double chin a goodbye. The jawline contour is always blended downwards, you can use a beauty sponge or a dense brush for the liquids and creams and a rounded brush for powders.
Pro-tip: Check out the ultimate guide on buying makeup brushes here.
For The Lips
Lip contour is makeup artists' most loved hack to make your lips appear bigger and poutier. It's pretty simple, just outline your lips with your contour shade with emphasis on the cupid's bow and under the lip and blend it well to give definition to your lip line. This has to be followed with your usual lip liner, lipstick, and lip gloss or lip oil routine for a seamless look.
For The Nose
In my opinion, nose contouring is the only difficult thing in makeup. Do it wrong and your whole nose can end up looking crooked. So, a handy guide is to draw straight lines to reduce the width of the nose and a faint line below the nose if you want to reduce the roundness of the button of the nose.
For The Forehead
If you have a broad forehead, then don't worry, contouring is here to help! All you have to do is make a few strokes on the forehead and blend it towards the hairline. Be careful to dot the product and then blend it well to avoid patchiness for a seamless defined look. What this does is shorten the width of your forehead. If your forehead doesn't need help in this area, then it's better to skip it altogether.
Product Recommendations
L.A Girl HD Pro Conceal
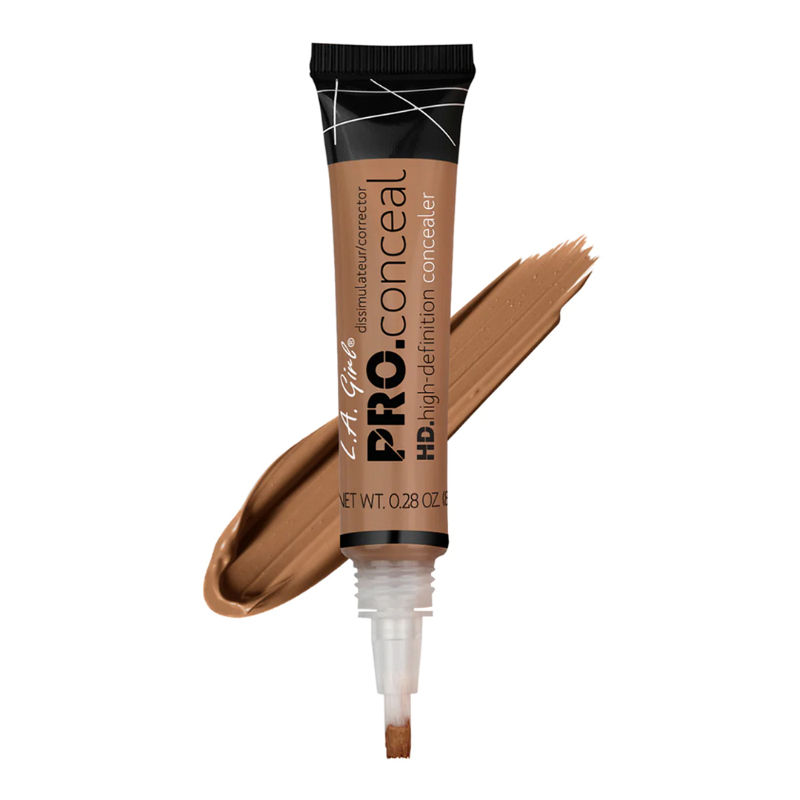
₹695
Shop On

Kay Beauty Contour Stick
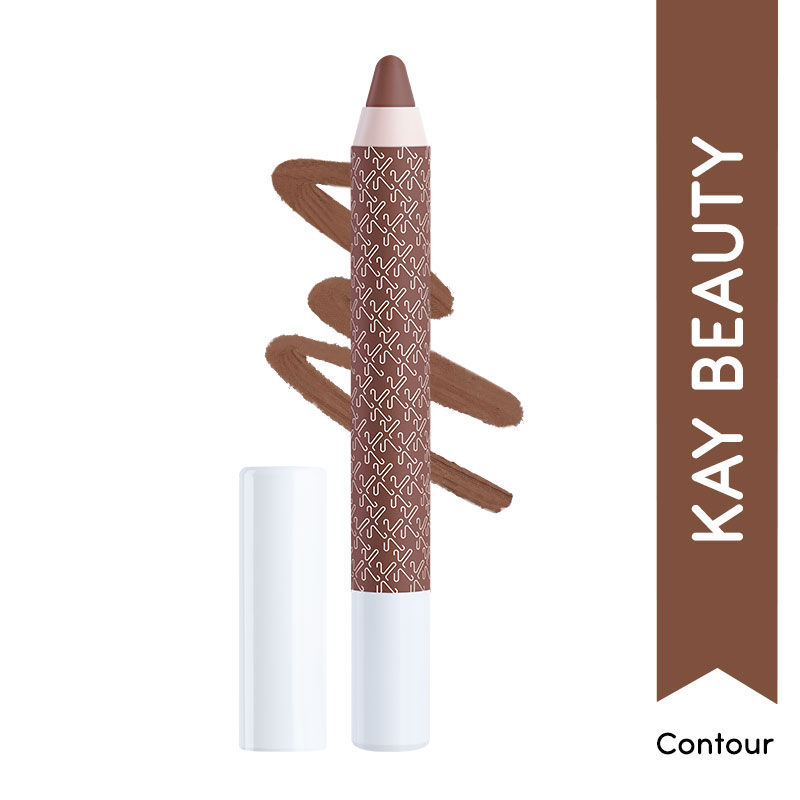
₹725
Shop On
Charlotte Tilbury Hollywood Contour Wand
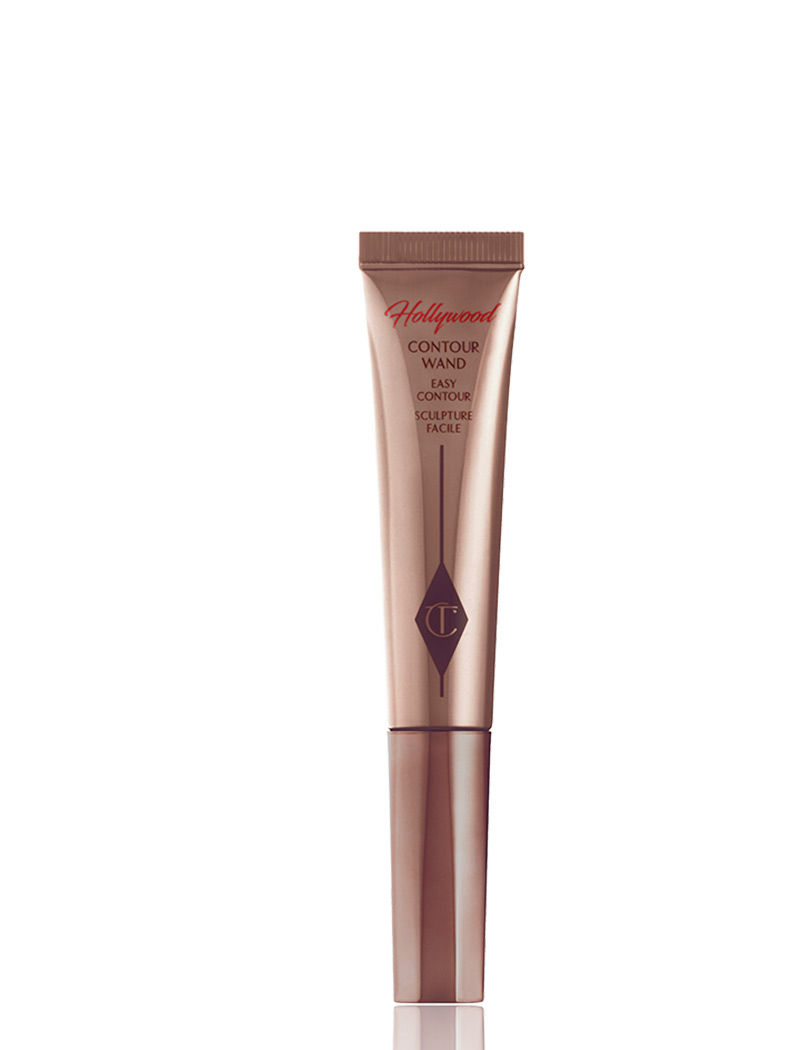
₹3950
Shop On
Swiss Beauty Double Trouble Contour & Highlighter Stick

₹399
Shop On
Nudestix Tinted Blur Sculpt Stick - Neutral Medium

₹3400
Shop On
Nykaa Contour & Conquer
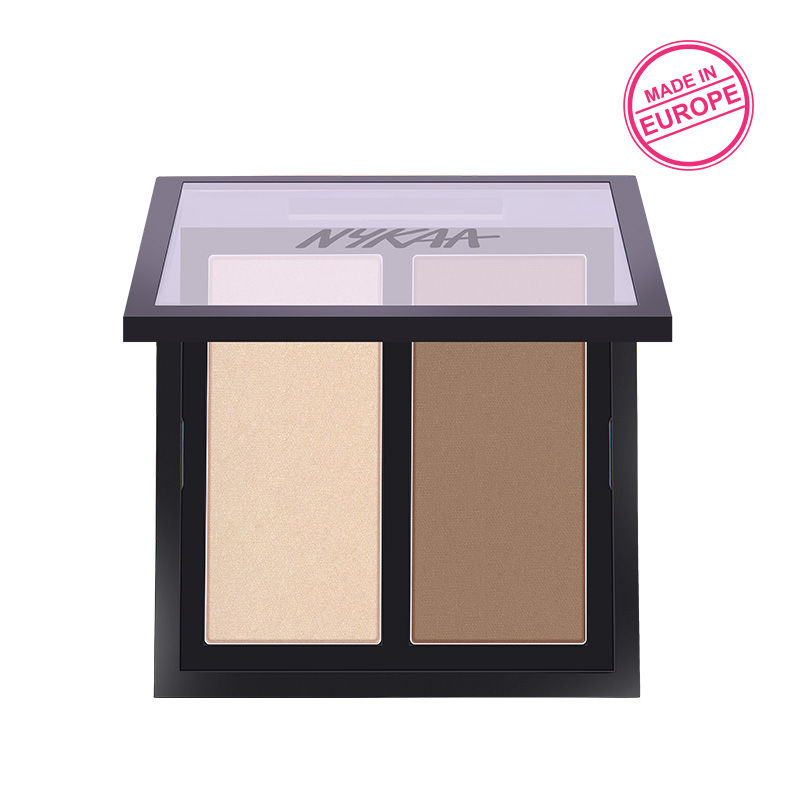
₹749
Shop On
NYX Professional Makeup Highlight & Contour Pro Palette
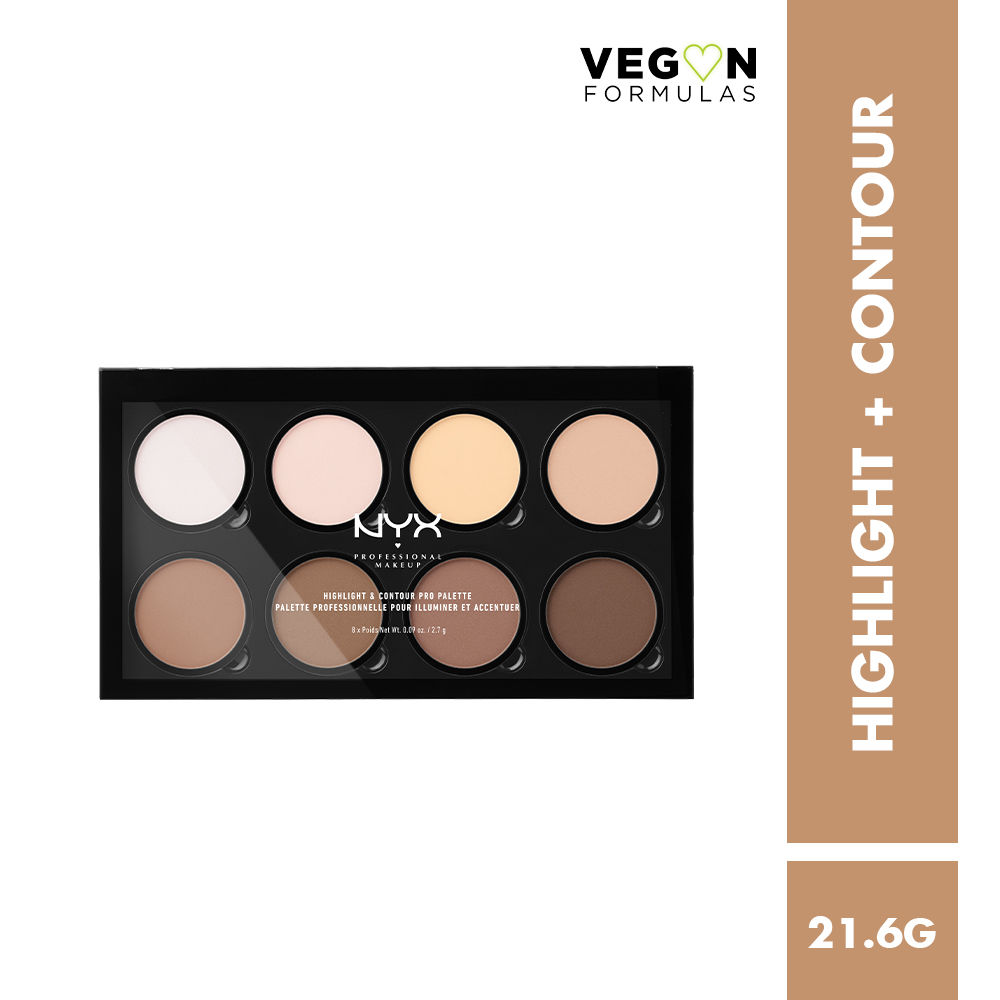
₹2000
Shop On
Huda Beauty Tantour
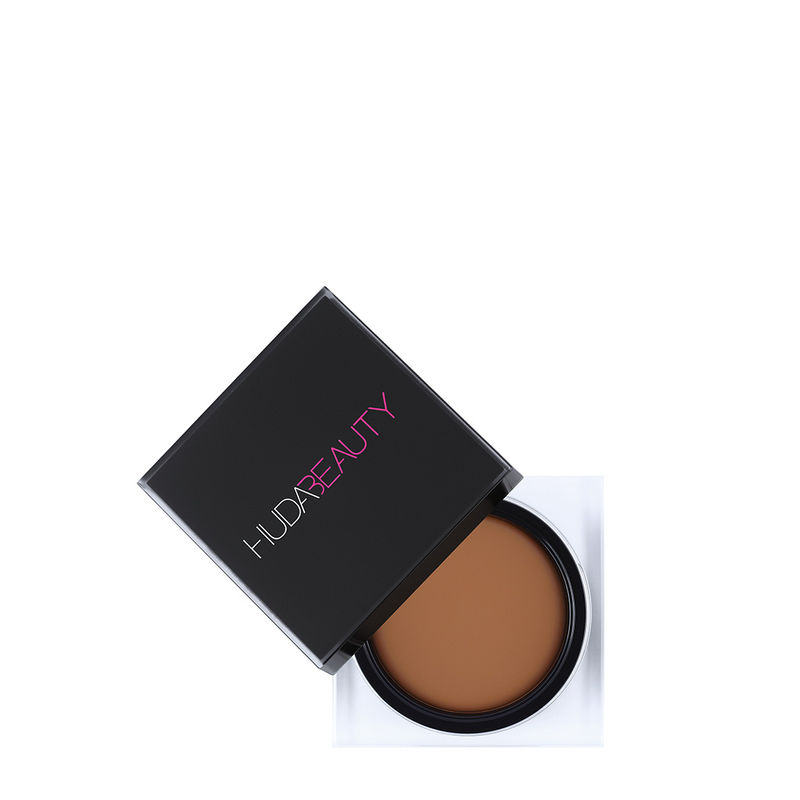
₹2500
Shop On
Pro-tip
Want to get an undetectable contour finish? Check out our guide on underpainting here.