
By Bani Chawla
Feeling creative? Up for some art and craft? Or just in the mood to imprint your inspirations? We're back with round #3 of our DIY Decor series, and this one's been an LBBD crew favourite for two reasons |
1. It's seriously really simple,
2. We will never have to spend money on 'Keep Calm and Carry On' diaries because now we can customize stuff with cool quotes and fun patterns.
Bring out a credit card {don't worry, no monetary harm}, a printer, and get crafty. Here's what we did |
What you need |
Wax paper; One roll
Printer; Don't use a laser printer; any Inkjet printer will work
Masking Tape; readily available at any stationary store
A plastic card/credit card
A surface of your choice; we used an artist's board and a diary
Steps & Tips |
- Make sure to flip the image / text you choose horizontally when giving the command for print.
- Make sure to get wax paper {used for baking} and not butter paper. Butter paper may look the same, but doesn't work.
- Cut the wax paper a size smaller than an A4 sized paper.
- Attach the wax paper onto the A4 size paper using masking tape or normal tape on all four edges.
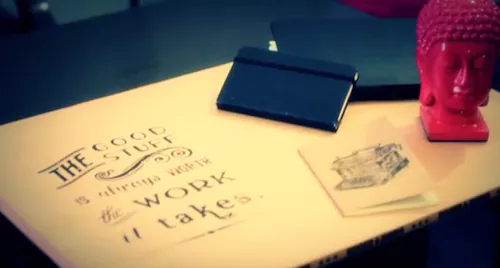
- Place the paper attached with the wax paper facing downward, not upward {as shown in the video}.
- After printing, detach the wax paper and attach to transfer surface using tape on all four edges again.
- Use the card carefully. Not too briskly, to make sure not to tear the wax paper.
- After your transfer is complete, in order to protect the transfer print / text, a coat of transparent enamel paint can be applied.
