Here's How To Nail The Underpainting Makeup Trend In 3 Easy Steps

256 Interested |
4.7K  Views

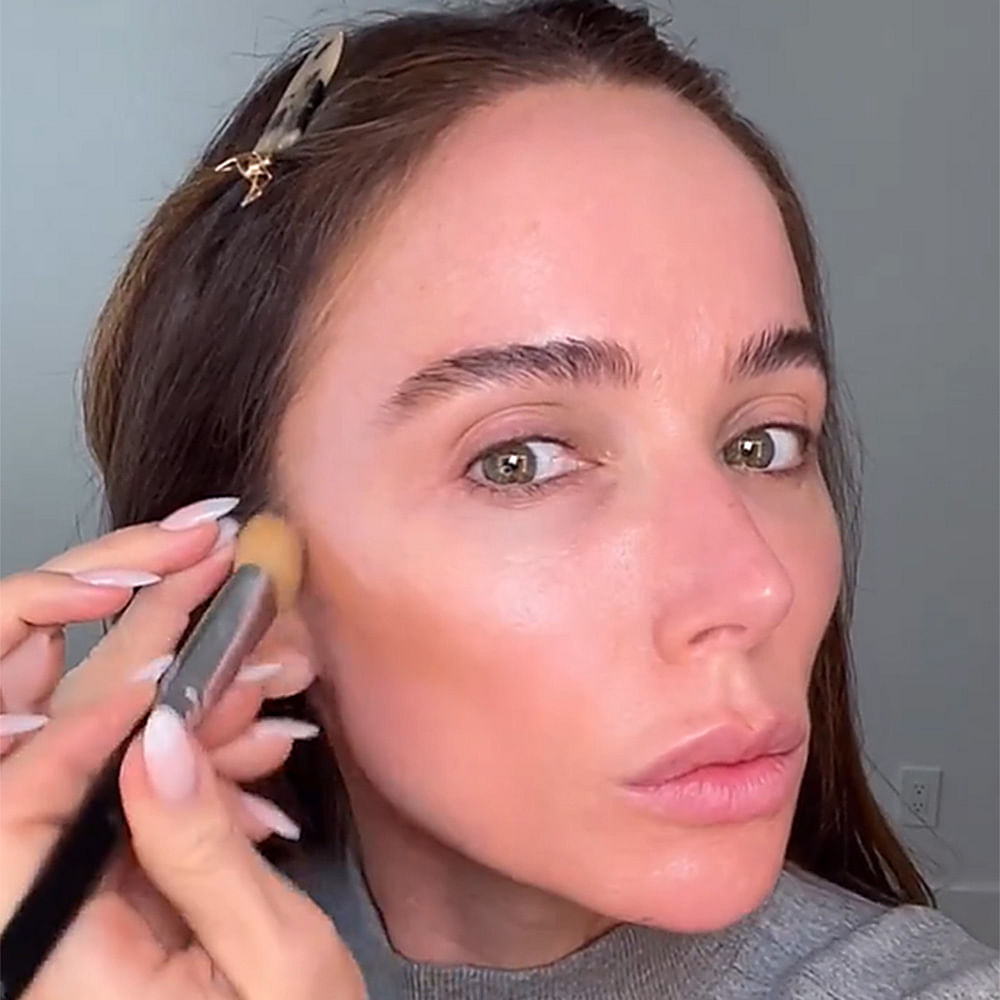
New makeup trends are born every day, they gain momentum for a month or so, and then something new comes up for beauty enthusiasts to obsess over and the cycle repeats itself, such is the life of a typical makeup trend. However, this makeup technique has been in use for years, only to have regained recognition in full force this season, thanks to makeup artist Mary Philips (a favourite of the Kardashian-Jenners, Priyanka Chopra, and JLo to name a few). Underpainting as the name suggests is 'painting' underneath your base to give an undetectable sculpted effect to your features. So basically, you do your contouring and concealer-based highlighting before putting on your foundation to give it a much more blended and natural finish that looks snatched yet radiant.

Our bet is that this technique's here to stay, not for the sake of being trendy but because of the purpose it solves. Underpainting is a phenomenal trick to have up your sleeve if you're someone who thinks the no-makeup makeup trend doesn't suit you as well, due to reasons such as pigmentation, dullness, blemishes, or just generally like the idea of contouring. Here are 3 easy (but thorough) steps on how to go about it if you are a newbie.

Step 1: Skin Prep

The first and foremost step for nailing the underpainting technique is to get the skin prep right. A smooth canvas makes it easy to work on and you have to put 10 times less effort on skin work if your skin's already in good shape. So, start by exfoliating your face with a chemical exfoliant (like The Ordinary AHA + BHA Peeling Solution) that's not too harsh but also gets the job done by clearing out the gunk. Follow it up with your usual skincare routine with an emphasis on hydration. Try incorporating ingredients such as hyaluronic acid, squalene or ceramides to hydrate the skin before the layers of makeup that are to follow.

Then, bring in the primers, preferably hydrating ones. Stray away from mattifying primers unless your face is extremely oily and you know you absolutely can't go forward without them. Or, try targeting the extremely oily patches (like your T-zone) with a pore-filling primer to keep the oil secretion on a low. You can also skip priming altogether if your skin doesn't require the extra step.

LBB's Picks: The Ordinary AHA + BHA Peeling Solution, L'Oreal Paris Hyaluronic Acid Serum, Suganda Squalane Ceramide Moisturiser

The Ordinary AHA 30% + BHA 2% Peeling Solution

The Ordinary AHA 30% + BHA 2% Peeling Solution

750
Shop On
L'Oreal Paris Revitalift Hydrating Serum With 1.5 % Hyaluronic Acid

L'Oreal Paris Revitalift Hydrating Serum With 1.5 % Hyaluronic Acid

999
Shop On
Suganda Squalane Ceramide Moisturiser

Suganda Squalane Ceramide Moisturiser

1100
Shop On

Step 2: Contour & Highlight

Now, we start with the (under) painting! Grab a cream-based contour or bronzer, whatever you fancy for snatching your face and start laying out the map work for sculpting your features. The idea is to highlight the high points of your face or the spots you want to give the illusion of looking lighter in contrast to the bronzed areas. If you feel lost about the placement, just apply the concealer under the eyes, down the bridge of the nose, and blend to make it seamless with the previously applied contour. Mary Philips calls this step 'laying down the bones under the skin'.

After buffing out your cream contour with a stifling brush, go in with your brightening concealer (a shade or two lighter than your usual shade) or stick to the concealer shade close to your skin tone to avoid looking ashy or grey by any chance.

LBB's Picks: Nudestix Sculpt Stick, Too Faced Sculpting Concealer, Milagro Beauty Dual-Ended Cream Brush.

Nudestix Tinted Blur Sculpt Stick

Nudestix Tinted Blur Sculpt Stick

3400
Shop On
Too Faced Born This Way Super Coverage Multi Use Sculpting Concealer

Too Faced Born This Way Super Coverage Multi Use Sculpting Concealer

2250
Shop On
Milagro Beauty Dual End Cream Brush 03

Milagro Beauty Dual End Cream Brush 03

1300
Shop On

Step 3: Seal The Deal

Now comes the crucial step of applying the foundation. Start with buffing out one pump of your favourite foundation on the centre of your face i.e. start from your cheeks and buff the foundation out towards your hairline with stifling motions. I would recommend using a sheer to medium coverage foundation for a skin-like finish or getting your hands on a skin tint with enough coverage to give a fresh-faced non-cakey finish. Try using very small amounts of foundation and sheering it by blending it well into the skin as much as you can. The next thing to do is apply a liquid/cream blush on the apples of your cheek for a flush of colour. To seal the deal, secure the hard work you did on underpainting by dusting a lighter layer of loose powder. 

LBB's Picks: Wet n Wild Bare Focus Tinted Hydrator, Makeup Revolution Superdewy Liquid Blush, Kay Beauty Translucent Loose Powder.

Wet n Wild Bare Focus Tinted Hydrator Tinted Skin Veil

Wet n Wild Bare Focus Tinted Hydrator Tinted Skin Veil

685
Shop On
Makeup Revolution Superdewy Liquid Blush

Makeup Revolution Superdewy Liquid Blush

695
Shop On
Kay Beauty HD Translucent Loose Powder - White

Kay Beauty HD Translucent Loose Powder - White

799
Shop On
img-user-siya-chopra-217683297315
183 Followers

An opinionated Gen-z beauty enthusiast who knows about a beauty product even before it goes viral, watch this space for the best recommendations :)