Monsoon is that time of the year when you don't feel like leaving the comfort of your home for the scary outernet... with all its puddles and traffic and chip chip. Home, on the other hand, is nice and cosy, ample amounts of tea is available, and rainy backdrops make for the perfect balcony hangs. The only thing that could ruin it for us is also a gift that monsoon brings with it, which is seelan. We've all dealt with it, (even Hrithik Roshan!) most of us still have that one wall that haunts us, that we try to hide using randomly placed curtains and paintings. Well, spare a Sunday, because, like Bob The Builder, we're about to fix that!
Seelan Putting A Damper On Your Perfect Home? Here Is THE Guide To Fix It
Step 1: Identify The Source
There are two types of seelan that exist — on the walls and on the ceiling, and both can occur due to different reasons. If it's on the walls, the most common reason it's there is because of a piping fault. The plumbing pipes that are laid down in the bones of the house must have come apart, however, it doesn't take too long to fix if you call a waterproofing professional. They will have to identify the closest drain and use that as an entry point to fix it. This, unfortunately, is not something that can be done without an expert since it is quite technical.
Step 2: Find The Leak
If your seelan is appearing from the ceiling or the top edge of a room, that could be caused by three different reasons. One of them is piping fault, which would then be the same process as mentioned above.
However, it is much more likely that the issue is either the tiling on the roof or the waterproofing in the balcony adjacent to that corner.
If the tiling on the roof or the balcony floor has cracks, or large unfilled spaces in between them, that could be the cause of the water leaking into the walls. The best way to go about it is to mix waterproofing powder like Dr. Fixit in cement, and fill up the gaps or cracks, if any.
Another issue to check should be the balcony tiles, especially making sure that they're placed all the way till the corner. If any cracks or spaces found, the same fix as above can be used, but if that is too much of a hassle, there are also waterproof pastes available such as The Dr. Fixit Sure Seal that do the job just as well.
Step 3: Scrape It Off!
Once the leak is fixed, seelan becomes pretty much a breeze to deal with. The hard part is done, which will thankfully ensure that you don't have to look at it ever again (here's hoping). Once that is out of the way and your wall is dry again, the rest is pretty easy. Take out all of the seelan using a scraper. Buy a good damp-proof paint in the colour of your choice, from a trusted brand such as Asian Paints to cover all your bases, and get rolling!
Step 4: Remove All Traces Of Trauma
Time to make that wall as beautiful as you are! Following are a few recommendations for your walls of seelans past, but if you're a creative person, we recommend checking out this list for inspiration.
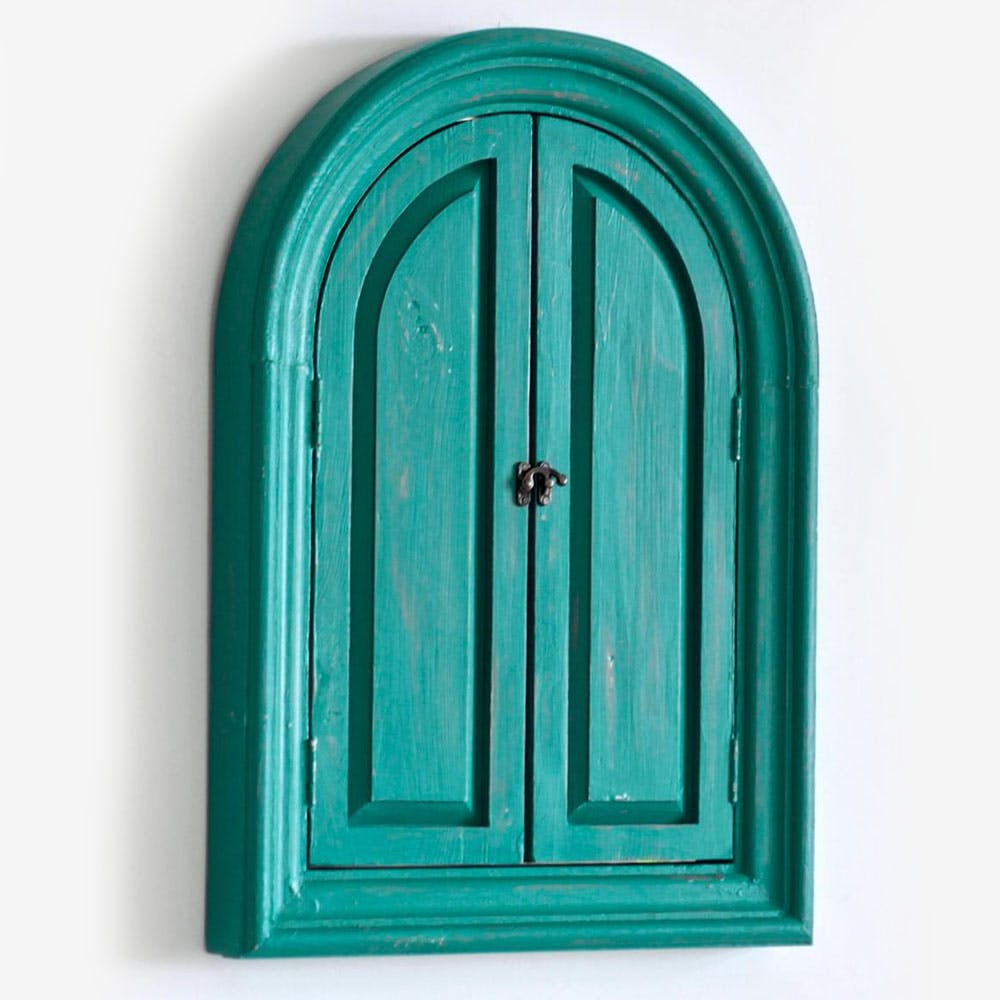
Arched Window Mirror By Shriya's Beats

Lush Wallpaper By Kalakaari Haath

HÖNEFOSS Mirror By IKEA

Persian Wallpaper By Jaypore

5-piece Landscape Art By VibeCrafts

Handwoven Grass Baskets By House Of Ekam

Set of 4 Wall Hanging Photo Frames By Yatha

Open Book Shelf By House Of Quirk


